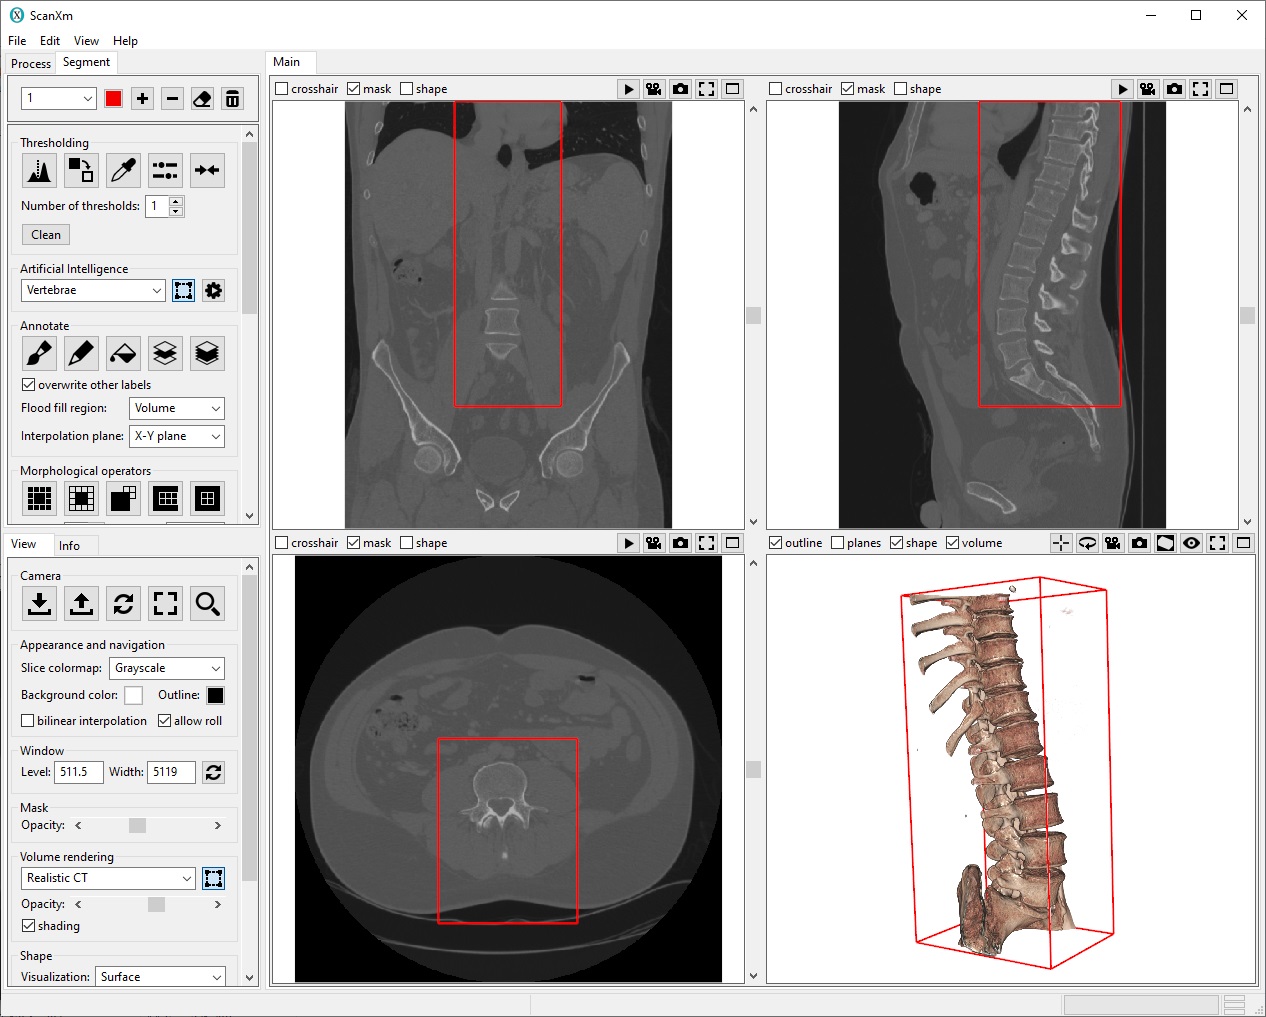
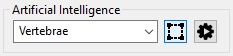
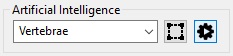
Select the organ you wish to segment from the dropdown menu.
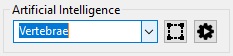
Recommended: Define the region you wish to segment by selecting the “Show box” icon and dragging the edges of the red box. Not setting this regions can make the AI much slower.
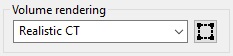
Tip: Showing the volume rendering by selecting the “volume” checkbox above the bottom right pannel wil help you fit the box around the organ you wish to segment. Click and hold your right mouse button and move the mouse pointer to change what type of tissue is shown.
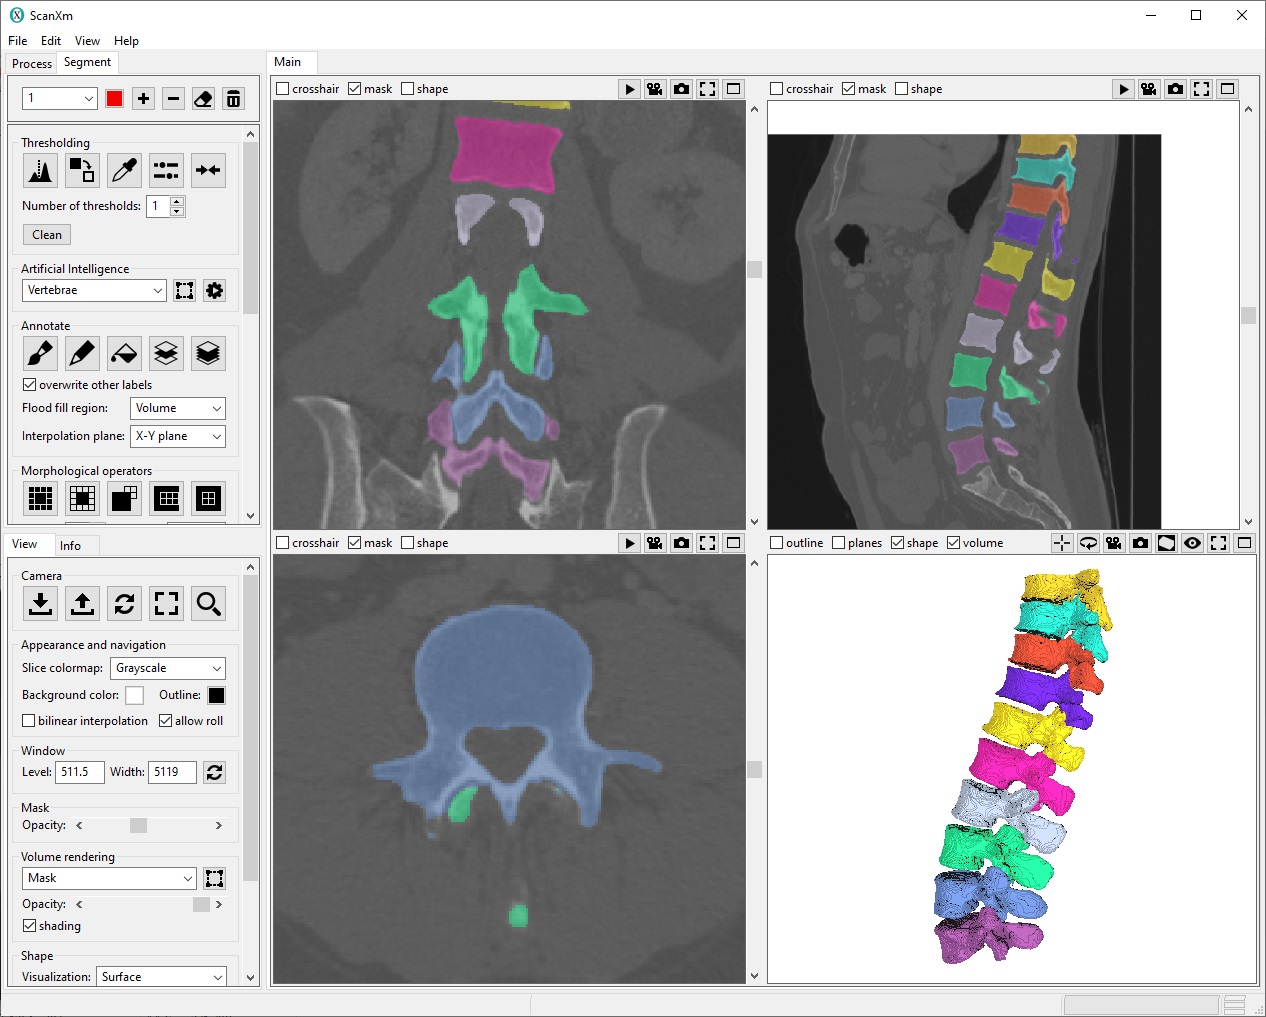
Press the “Run Artificial Intelligence” button and wait for completion.
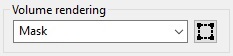
Recommended: Check the resulting segmentation by scrolling through the slices and zooming in too see the details. Set the volume rendering to the mask to have a quick look at the segmentation in 3D.
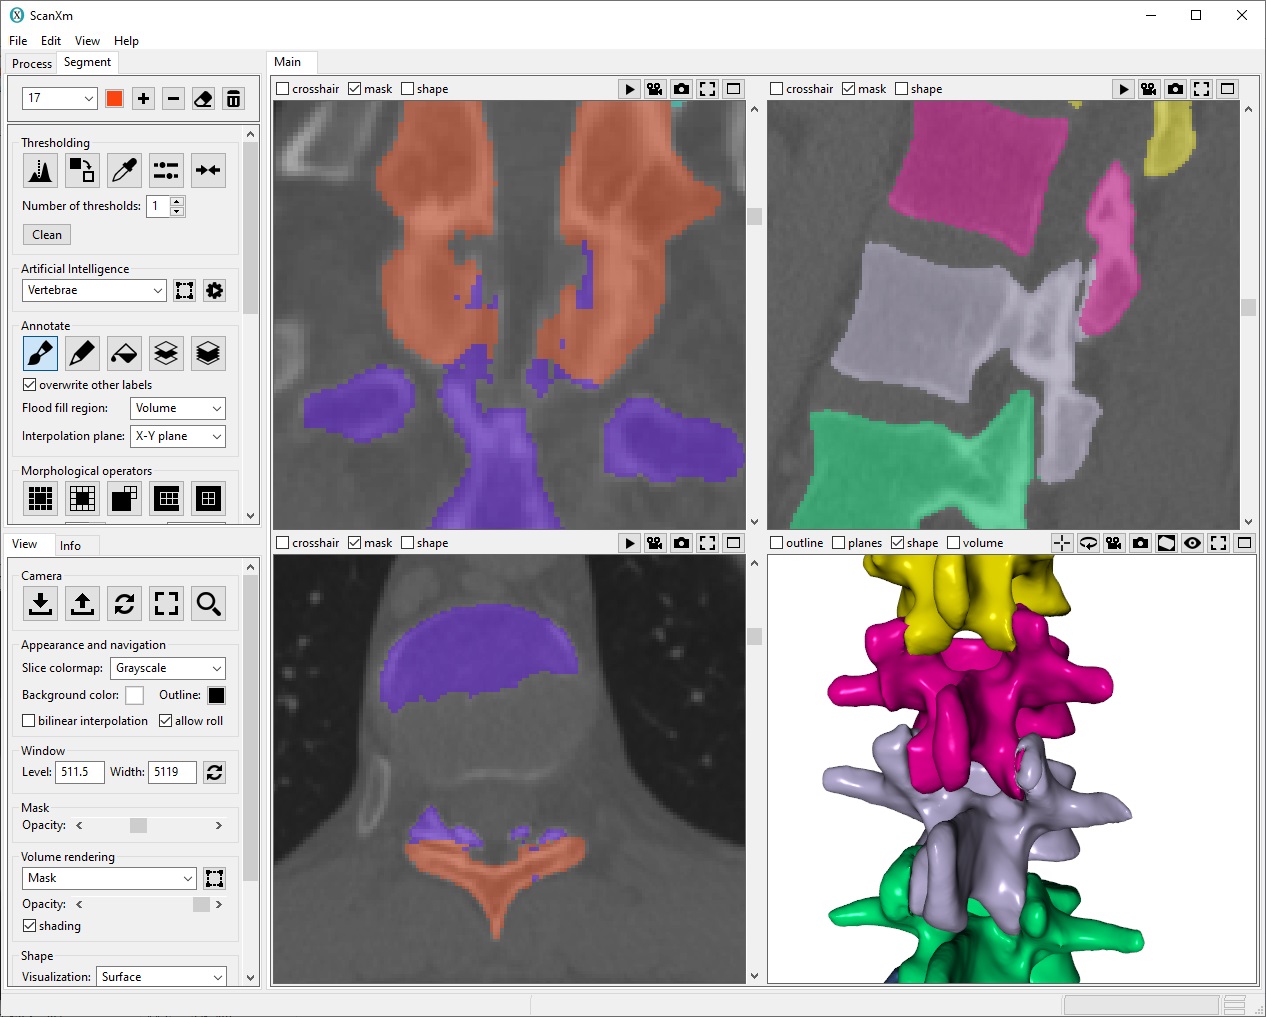
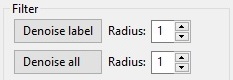
Tip: If the segmentation is noisy you can apply a denoising filter for one or all labels. A radius of 1 is usually sufficient. This operation will also smooth the segmentation.
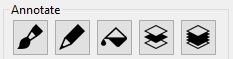
Correct any remaining errors using the paint, delineate or floodfill tools.
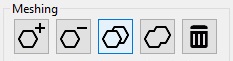
Tip: Generating the surface mesh for every label may reveil more inaccuracies that need to be corrected.
Tip: In case you find that your slice spacing is too large, run The Artificial Intelligence function “Split CT slices” in the Process tab. You can repeat this until you think you have increased the resolution in the z-direction sufficiently. Run the automatic segmentation again and see if the results improved.